Documentation Index
Fetch the complete documentation index at: https://docs.dovetail.com/llms.txt
Use this file to discover all available pages before exploring further.
Note: Insights are now called Docs in Dovetail. If you see references to insights in older documentation or in your workspace, they refer to the same feature now called Docs.
Overview
Fields are metadata that help you consistently structure and visualize project data - like spreadsheet headers. They live on your Dovetail data and project Docs to help build on the sort and filter experience across your workspace. Managers and Contributors can use data fields to capture information like research method, interview date, usability testing scores, segment, and Net Promoter Score. With Doc fields, you can capture information such as product area, team, key themes, confidence level, and the criticality of your findings. Enterprise workspaces can create a set of global workspace fields to use alongside contextual project fields to connect and segment related data across the workspace.How data fields work
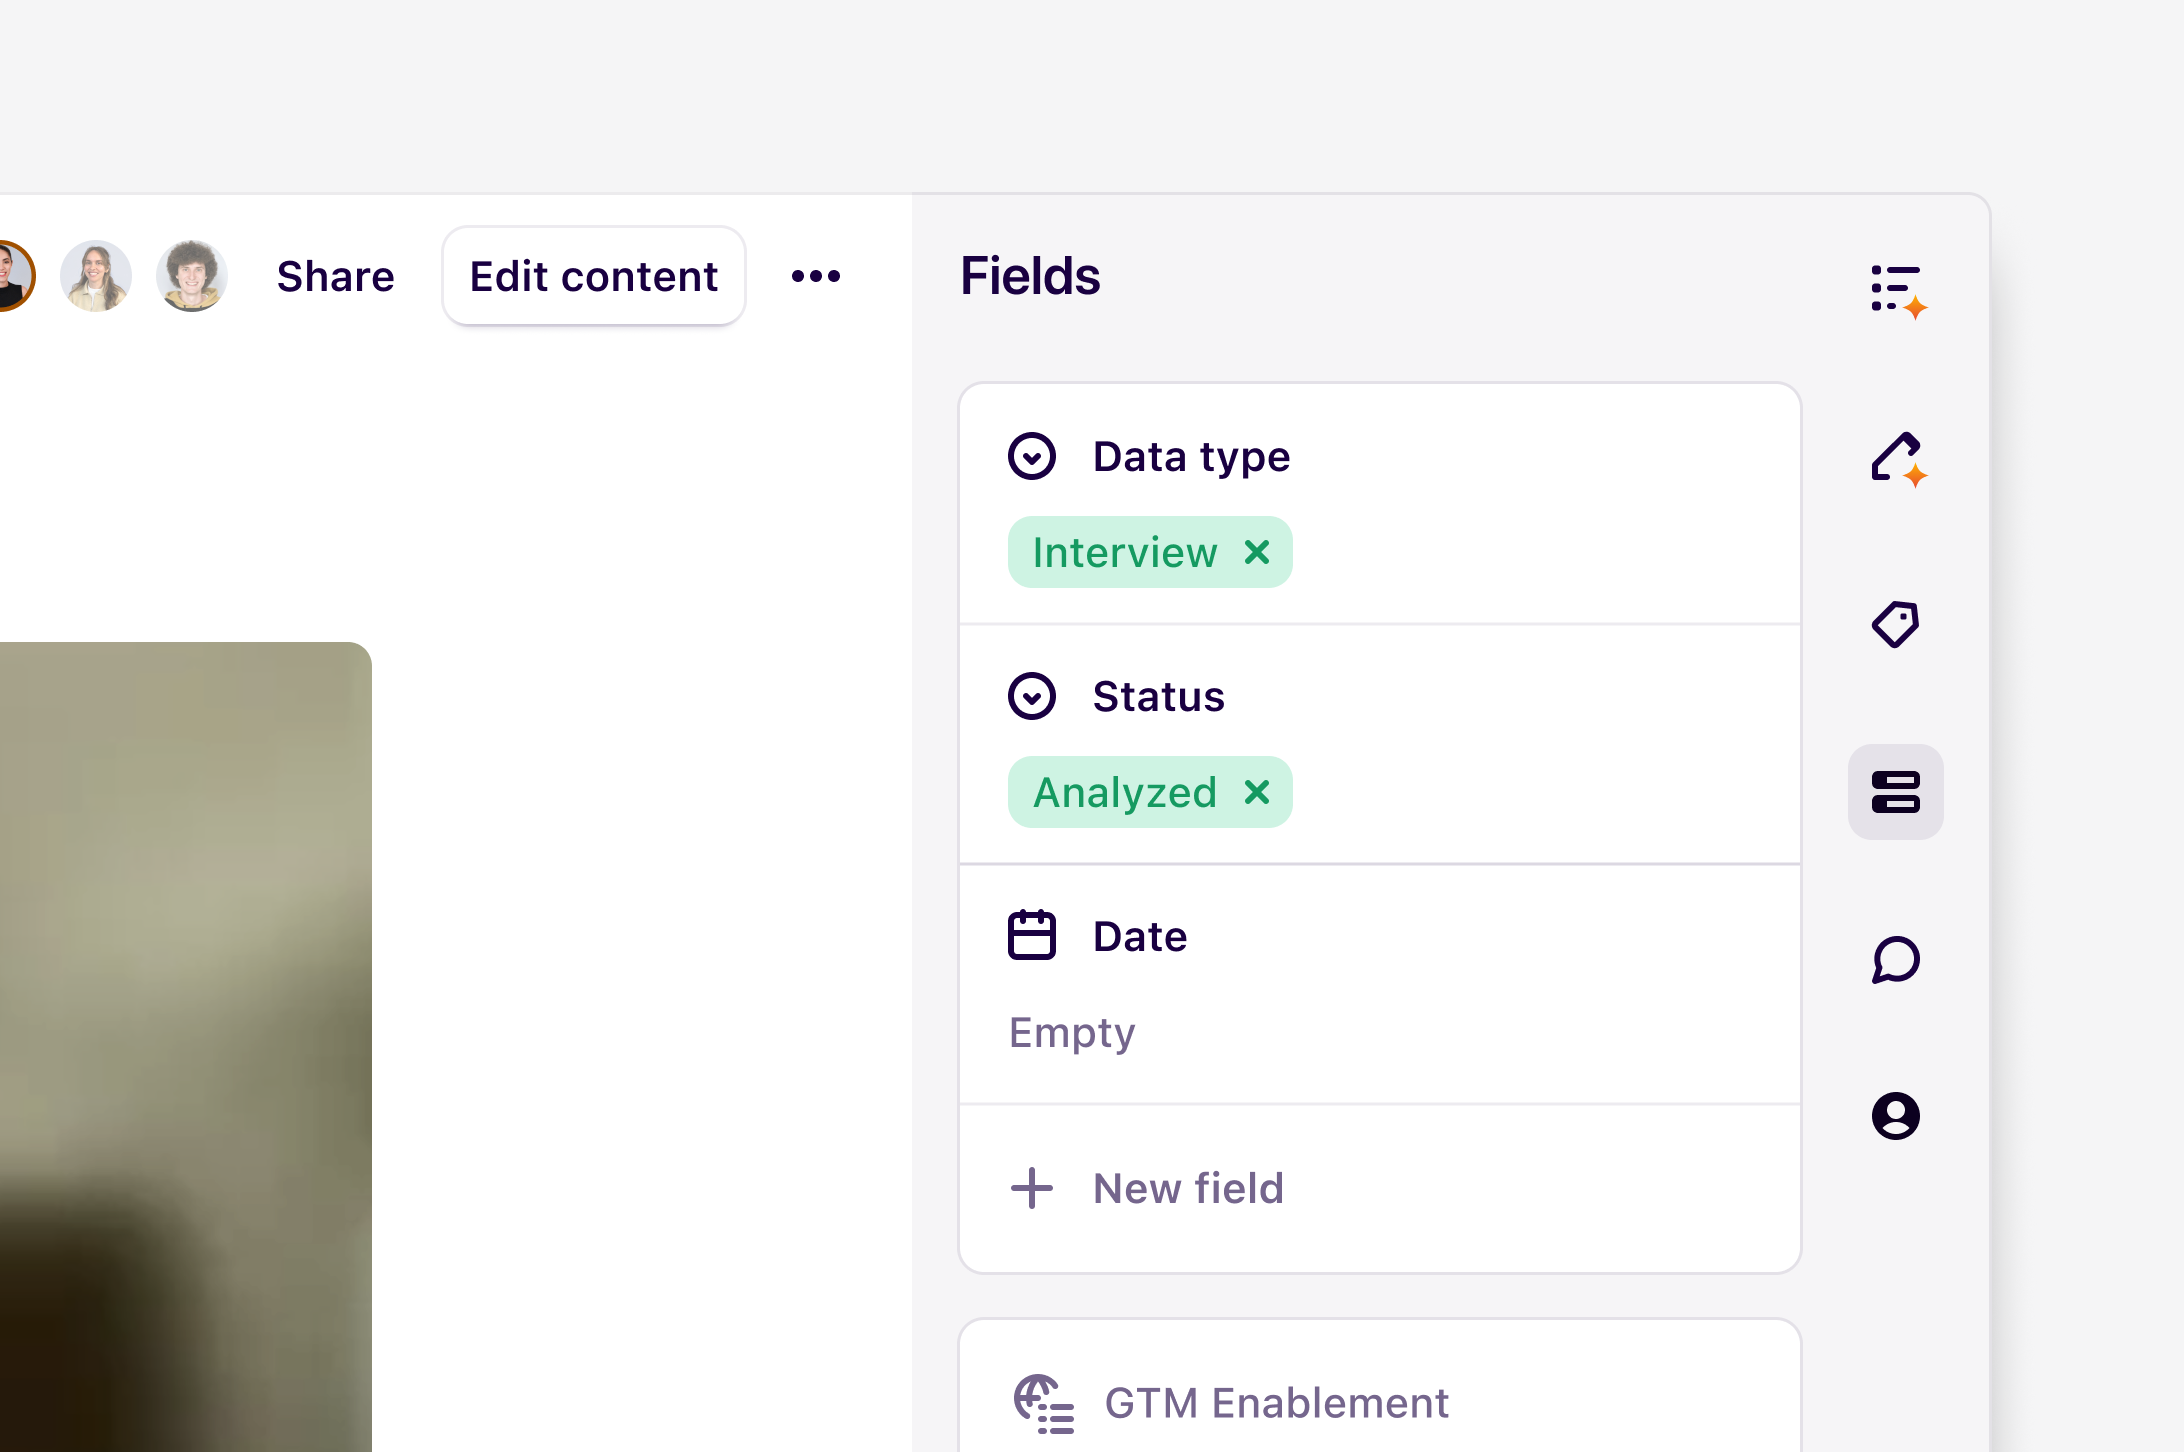
When you add a new field to a data object, it will also be added to all other data objects in that project. This will allow you to capture information consistently across your data and easily filter, sort, and locate your data. Fields are located within the data sidebar and can be opened by pressing the field icon.- To add a new field, click
+ New field, set a title, and select a field type from the dropdown list. - When a data object is editable, you can update field titles or values by simply clicking on the field itself.
- To rearrange the order of your fields, you can use drag and drop in the sidebar.
How Doc fields work
Workspace-level docs do not currently support fields. If you need to add fields to a doc, please move the doc into a project.
- To add a field to your Doc, open a Doc and click
+ New field. Then, you can set a title and select a field type.
Field types
We currently support the following field types in data and **Docs **(only at the project-level):| Field type | Description |
|---|---|
| Text | Any text characters, up to a maximum of 300 |
| Number | Any positive or negative integer |
| Date | Any date in the format YYYY-MM-DD |
| Checkbox | A toggle switch for true / false |
| URL | Any valid website link or URL |
| Single-select | Assign one option from a list of up to 200 |
| Multi-select | Assign up to 100 options from a list of up to 200 |
| Contact | Reference people from your Contacts database |
| Any valid email address | |
| Phone | Any valid phone number |
| NPS | Any number from 0-10 on the Net Promoter Score scale |
Working with single and multi-select fields
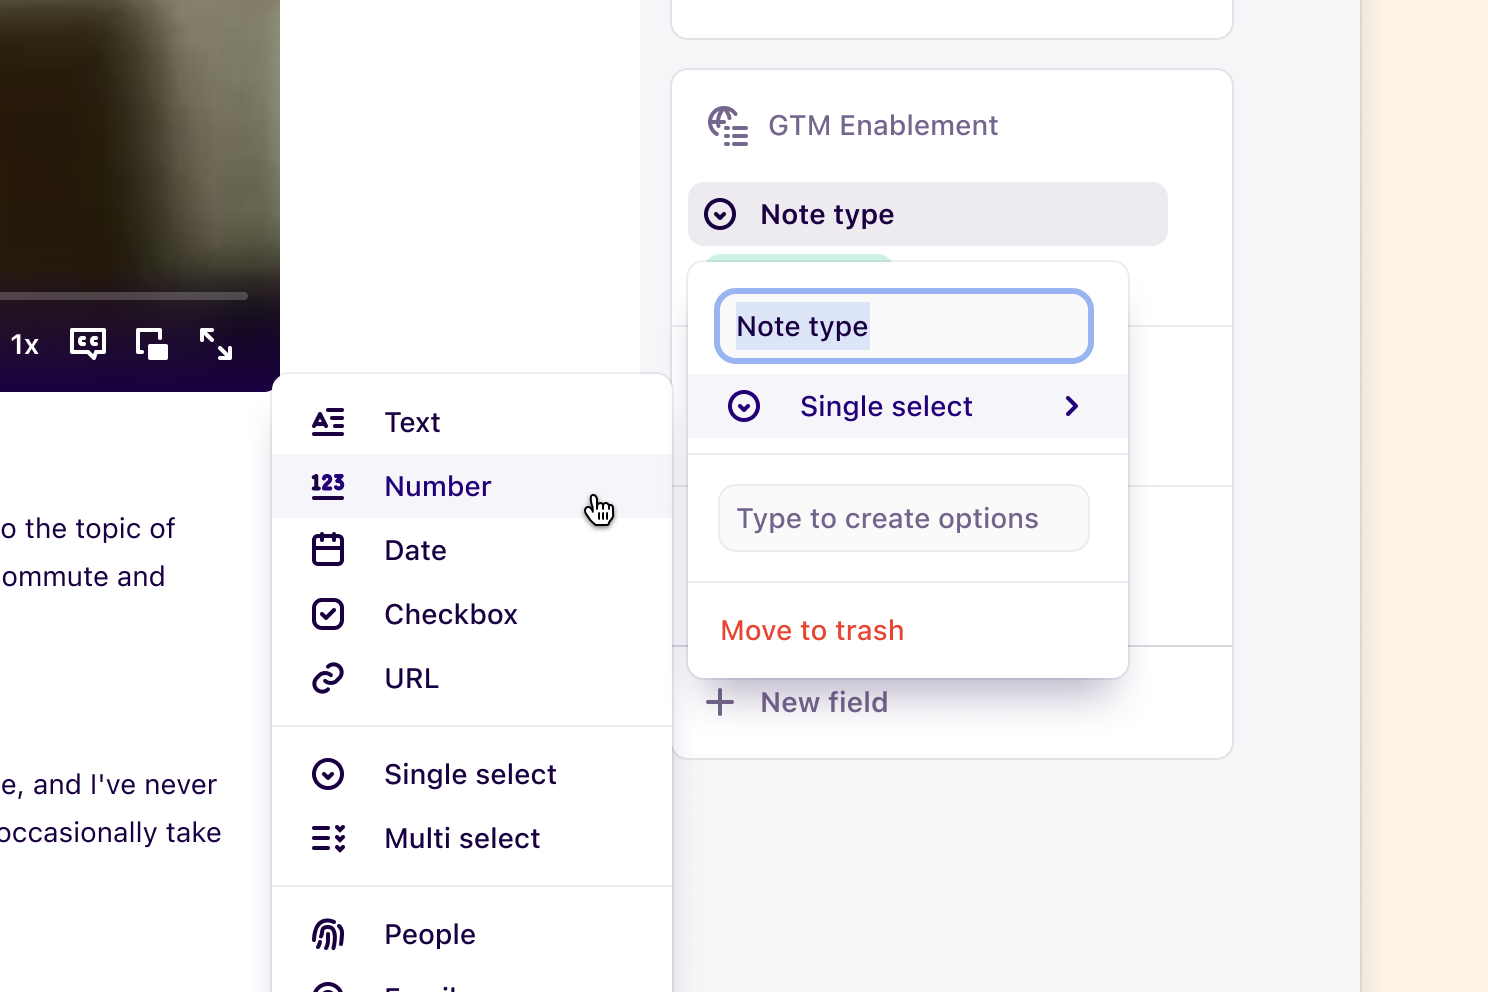
Select fields help standardize how data is categorized by limiting field values to a curated list to select from. Single-select fields are limited to displaying one value from the list, while multi-select fields allow up to 100 values for a given data or Doc. When creating a single or multi-select field, you can create a list of values for your data or Docs to use along with this.- To do this, open your data or Docs, click
Fields, and select+ New Field. - From there, select the field type (single or multi), add a field title, and enter values in the text box. All values submitted in the text box of a field will automatically populate and save a list of values for you to use in the field.
Create and update field data in bulk
You can update many fields quickly by editing field properties in bulk from any data or Docs view.- To do this, select your data or Doc, click
•••in the pop-up menu, and selectEdit field. - From there, choose the field you wish to edit along with the field property. Once complete, this will apply updates to all data objects or Docs selected.
Change field type for existing field
You may decide to change the type of an existing field, such as a text field to a single or multi-select field.- To do this in your data object or Doc, click on the field title, hover over the field type, and select the new field type.
Edit, delete, and manage project fields
Project fields are scoped to a single project — any changes you make apply across all data or Docs within that project instantly.Edit a project-level field
To edit a field title or type, open a data object or Doc and click on the field title in the sidebar. From there, you can rename it or hover over the field type to switch it to a new type. To update field values in bulk, select your data or Docs, click••• in the pop-up menu, and select Edit field. Choose the field and property you want to update — changes will apply to all selected items at once.
Delete a project-level field
To delete a project field, navigate to the data sidebar, open the field, and select Delete. Deleting a field removes it and its values from all data objects or Docs in the project.Note: Deletion is permanent at the project level. If you’re working with workspace fields, deleted fields are sent to the workspace trash and can be restored within 30 days.
Manage project-level fields
To add or update select field values, open the field directly from a data object or Doc and edit the values inline.Create workspace fields to capture related data
Available on the Enterprise plan
- To do this, open ⚙️ Settings → Workspace fields and select
New field group. - From there, open either the
Data fieldsorDoc fields andpopulate these.
Edit workspace field groups
Managers and contributors can create new, edit, and use workspace field groups and individual fields.- To do this, navigate to ⚙️ Settings → Workspace fields, open the chosen field group and select
Editto update. Viewers cannot create or use workspace fields at all. - To delete a single workspace field, go to ⚙️ Settings → Workspace fields and open your field group.
- From there, click on the group title and select
Move to trash. Deleted workspace fields go to workspace trash where it can be restored for 30 days.
Remember that workspace fields are live. Changes you make to workspace fields will be reflected immediately in all linked projects.
Save values for select fields across projects
You can create pre-populated values for single or multi-select workspace fields for your connected project’s data and Docs.- To do this, navigate to ⚙️ Settings → Workspace fields and next to the field you wish to add values to, select Edit.
- From there, type and enter values that can be selected when applying to your data across projects.
Manage access to workspace field groups
When a manager or contributor has Full access to a workspace field group, they can restrict access of a workspace field group. For example, you may want to limit usage of a specific workspace field group to users from your Design or Research team.- To do this, go to ⚙️ Settings → Workspace fields, click on your chosen field group and select
Share. - From there, you can update access to the group by changing the workspace’s access to No access and proceed to add specific individuals or individuals to have Full, Edit or Can use access.
Delete a single workspace field from a group
- To delete a single workspace field from a group, navigate to ⚙️ Settings → Workspace fields and open the group the field lives within.
- From there, locate the field, select
Editbeside it and pressMove to trash. Deleted workspace fields go to workspace trash where it can be restored for 30 days.