Documentation Index
Fetch the complete documentation index at: https://docs.dovetail.com/llms.txt
Use this file to discover all available pages before exploring further.
Available on Professional and Enterprise plans
Overview
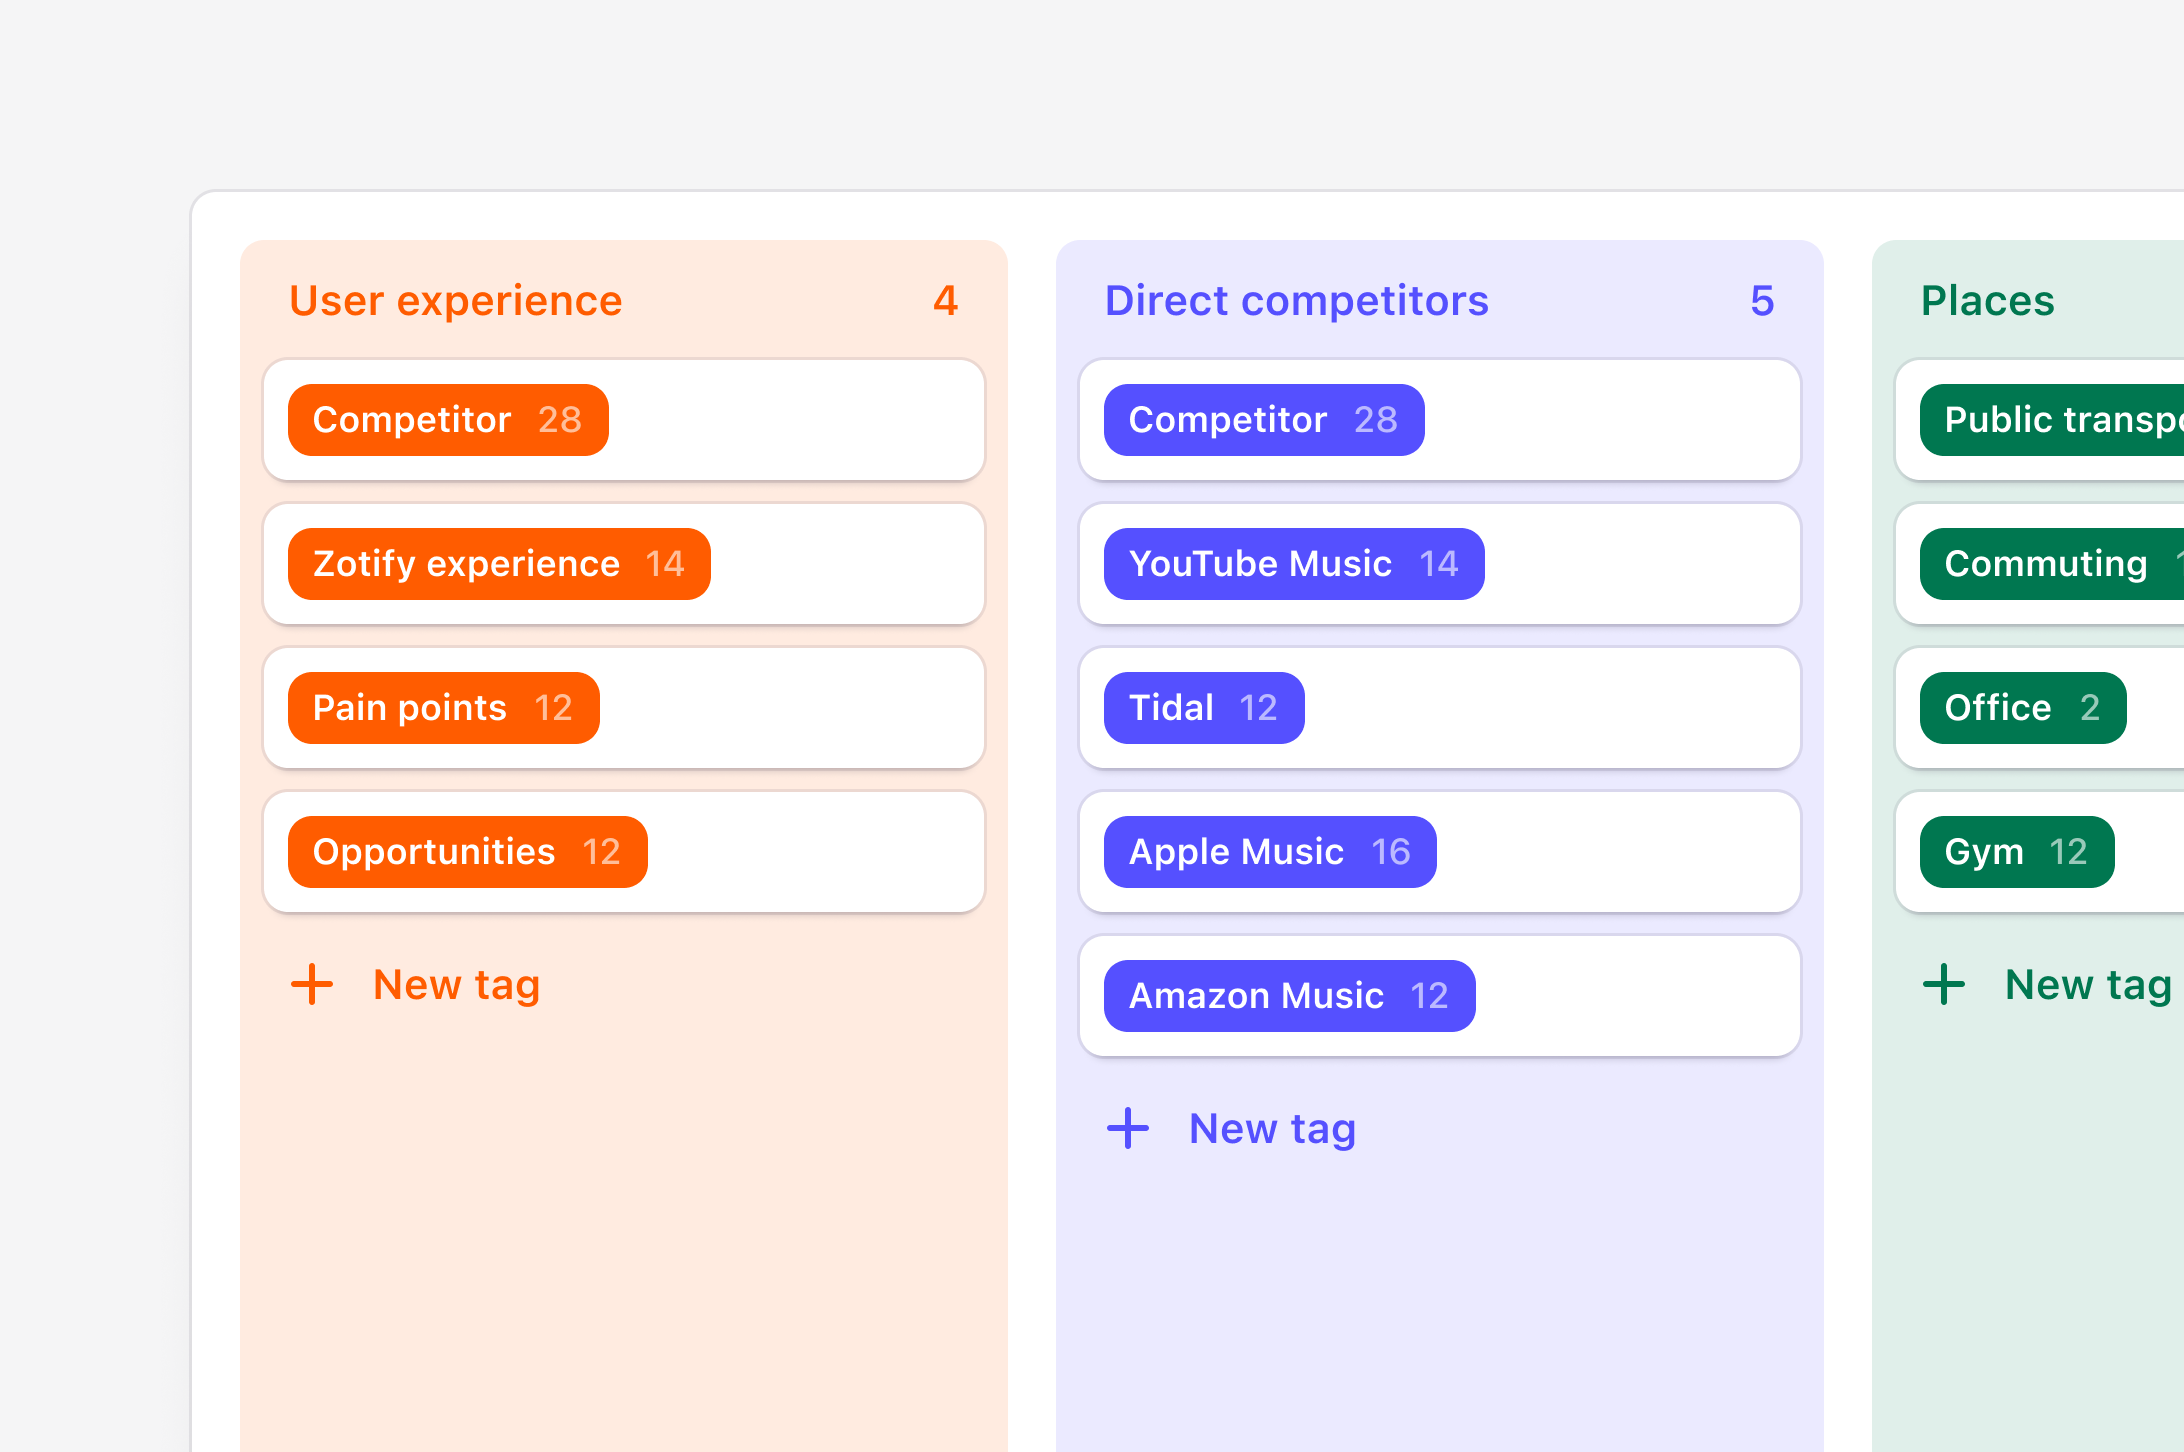
Managers and contributors can create custom project tags that they can organize, group, and merge on boards within projects. In tags, you can also quickly review and watch highlight reels that stitch together highlights grouped under each tag.Create a project tag
Utilize tags to group related highlights. A single highlight can have one or many tags associated with it, and a single tag can have many highlights associated with it. Tags can be created from two places in a project: In a data page and under the Tags tab- In a specific data page
Drag over a section of text within a note, and select
Tag from the action menu. From there, you can create a new tag to group your highlight under.Organize project tags into groups
You can create multiple groups on a single tag board within a project.- To do this, open your tag board and select
New group. - From there, you can create new tags inside the group or drop and drag to move existing tags into a group.
Assign colors to your tags
Like affinity mapping, you can also color-code your tags individually or in bulk within a single group.- To change the color of a group of tags, hover over the tag group title and select
•••. - From there, select individual tags or
Select alland choose the Color in the pop-up menu.
Merge related tags in your project
If you find there are similar tags created within your project, you can condense and clean up these by merging them together on a tag board. When doing so, all highlights grouped under each tag will live under a single tag.- To merge tags on the same tag board, select the checkbox in the top left corner of your chosen tag.
- From there, a toolbar will appear. Select
Mergeinto, chose your tag and confirm the merge withMerge tags.
Bulk import tags into a project
You can create multiple tags at once from a single spreadsheet. This is handy if you have an existing spreadsheet of tags that you wish to bring into Dovetail for you and your team to use. The file should be UTF-8 encoded Comma Separated Value (CSV) file with a header row and have at least 1 column for:- Title: text format (200 character limit)
- Description: text format (300,000 character limit). This becomes the description of the tag that appears when viewing the tag in your project.
- Created date: must be in ISO 8601 date format or YYYY-MM-DD HH:MM
Import in the top right corner.
During import, you will need to map columns from your spreadsheet to how it will be presented on your tag. For example, if you have a column for tag descriptions, you can include this information to the tag page by mapping this to the option ‘Description’.
Create global tags for use across projects
Available on Business and Enterprise plans
What happened to tag summaries?
What happened to tag summaries?
We’ve recently deprecated our tag summary feature, so it’s no longer available for any tags in your workspace. For summaries of highlights under a tag, we recommend using our chat feature instead.