Overview
Support tickets, app reviews, product feedback, NPS and CSAT can be imported into Channels to be classified into actionable themes that your team can use to know what to build next. These can be brought in with one of our available integrations, via Zapier, or our API for a real-time sync. We also support CSV import for data from apps we do not support yet.Import data via an integration
To connect an external data source, you’ll need access to it to authorize the specific permissions that Dovetail requires. If you don’t have the correct level of access and are unable to authorize, you’ll need to reach out to an internal team that can provide you with the correct access.
- Support ticket platforms Front, Intercom, Jira Service Management, Freshdesk, HubSpot Service Hub, and Zendesk
- App reviews from the Google Play store, Apple App store, and G2
- Any feedback tool that has an integration with Zapier, or via our Public API
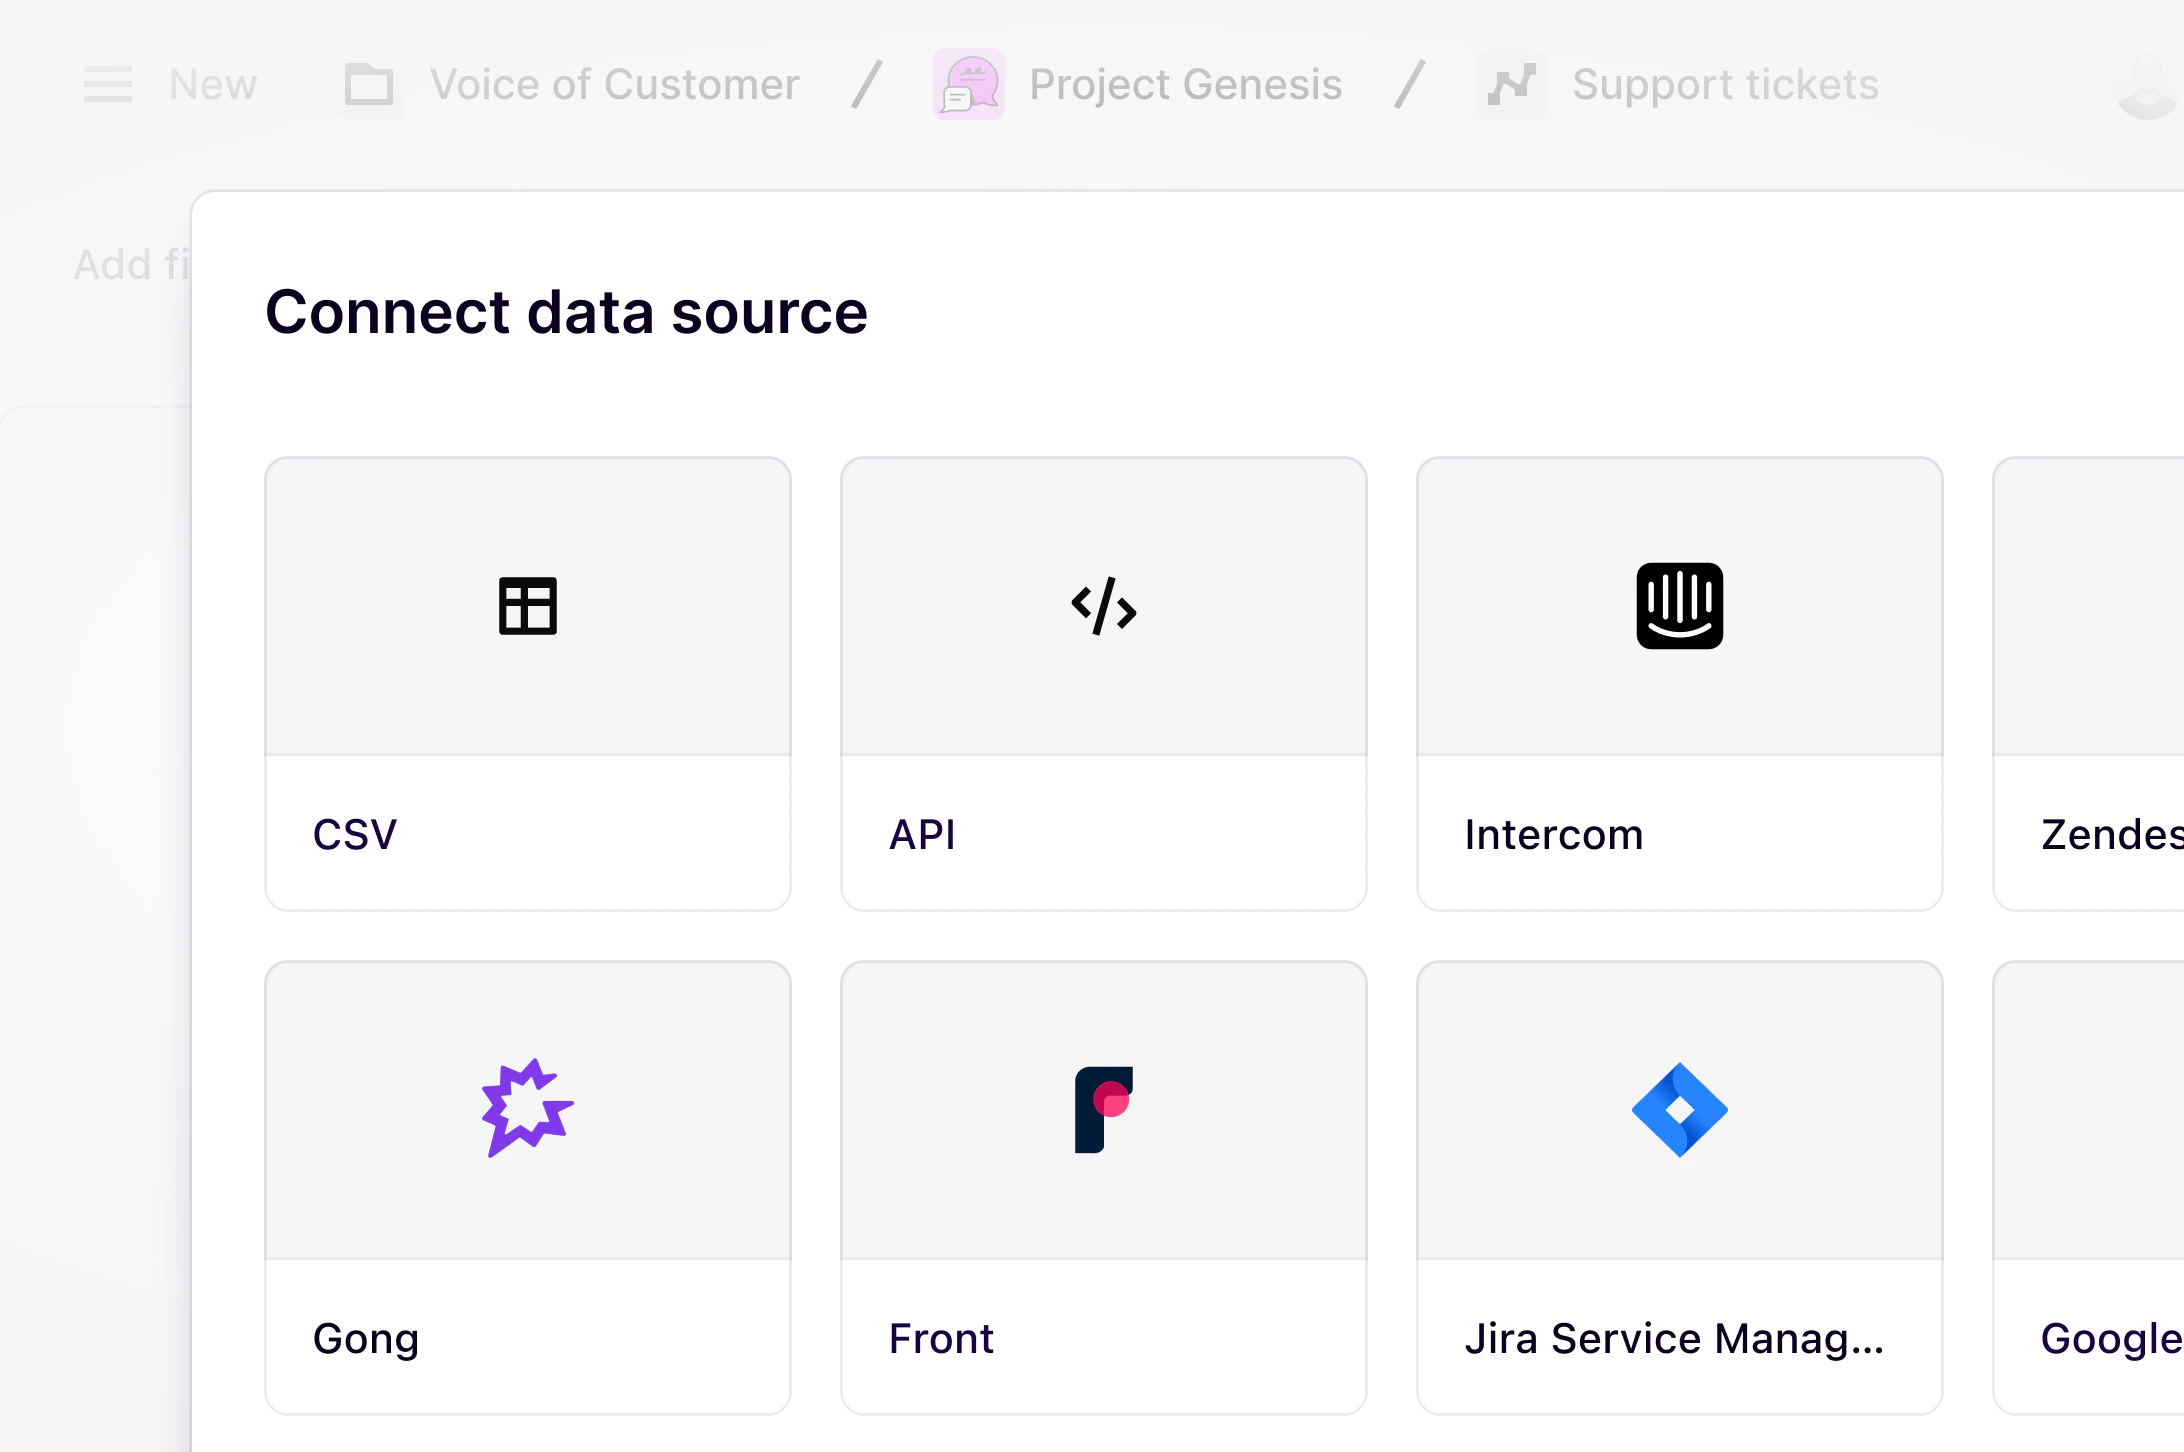
- To connect a new data source, open a channel, press
+ Add source, and select from the list of data sources. - Once your data source has been connected, select the data you wish to sync to your channel. You can choose a specific timeframe, teams, inboxes, or apps that you want Channels to analyze.
Import data from a spreadsheet
You can also import NPS responses, support tickets, churn responses, and app reviews from a CSV spreadsheet. We recommend tidying up your spreadsheet first before importing into a channel including renaming important headings, identifying what column you wish to have analyzed and removing any data that you do not wish to import into Dovetail. Any dates must also be in ISO 8601 date format or YYYY-MM-DD HH:MM.- To connect a new data source, open a channel, press
+ Add source, and select from the list of data sources - Once your CSV has been selected, you will need to indicate which column should be analyzed for classification once imported. To ensure the right data is analyzed:
- Choose a column that has content you want analyzed. This is typically a comment or ticket
- Choose a column as a date. This will allow you to apply filters to drill into specific time periods.
- If you have additional columns in your spreadsheet (typically metadata fields), you can bring these into your channel as filters for segmentation.
- Select
Finish.
Best practices for importing a spreadsheet into a Channel
When importing data via CSV into a Channel, following these best practices will help ensure a smooth import and accurate analysis.1. Upload data in smaller batches
While CSV import is supported, Channels is optimized for continuous data ingestion via integrations.- We recommend uploading smaller files (~10,000 rows or fewer) at a time
- If your dataset exceeds this, split it into multiple files before uploading
- Large CSV files may impact performance or slow down processing
2. Prepare your data before importing
Before uploading your CSV:- Clean up unnecessary columns and rows
- Rename headers clearly
- Ensure your date column uses ISO format (YYYY-MM-DD)
- Identify which column contains the primary text for analysis (e.g., feedback, ticket, comment)
3. Carefully configure field mappings
During import, you’ll be asked to map each column to a field type. This step is critical, as it determines how your data can be filtered and analyzed. Take time to review each column carefully and assign the correct field type. Supported field types include:| Field type | Description |
|---|---|
| Text | Any text characters (up to 300) |
| Number | Any positive or negative integer |
| Date | Format: YYYY-MM-DD |
| Checkbox | True / false values |
| URL | Any valid website link |
| Single-select | One option from a list (up to 200) |
| Multi-select | Multiple options (up to 100 from a list of 200) |
| Contact | Links to a contact in your Contacts database |
| Valid email address | |
| Phone | Valid phone number |
| NPS | Score from 0–10 |
Import data via Zapier
After creating your channel, you can set up additional data source integrations in Zapier (note that Zapier must provide support for that data source). You can learn more about the 7,000+ apps you can integrate with Dovetail through Zapier here.- Create a trigger in Zapier for your data source.
- Add the Create data point action for Dovetail. From there, you can also set any metadata information on Zapier.
Import data from the Dovetail API
After creating your channel, you can use the Dovetail API to create any custom integrations with your data sources.- Create a personal API key to authorize the integration.
- Once you create the API key, connect to the Channels endpoint.
FAQs
What happens when I hit the data points limit for the month?
What happens when I hit the data points limit for the month?
Once you reach the usage limit for the month, no new data points will appear in your channel. You can continue to access all data that has been imported previously, move data points, and update the themes list.This also means that there will be no extra charges for overages and if necessary, you can choose to upgrade your data usage for your plan.The usage period resets every month from the workspace original billing date. This is applicable for subscriptions billed on both a monthly and yearly cycle.
How is our data being used?
How is our data being used?
For details on your data, see Responsible Use on Dovetail AI features.