

Only workspace admins can create sources. Other users can request one.
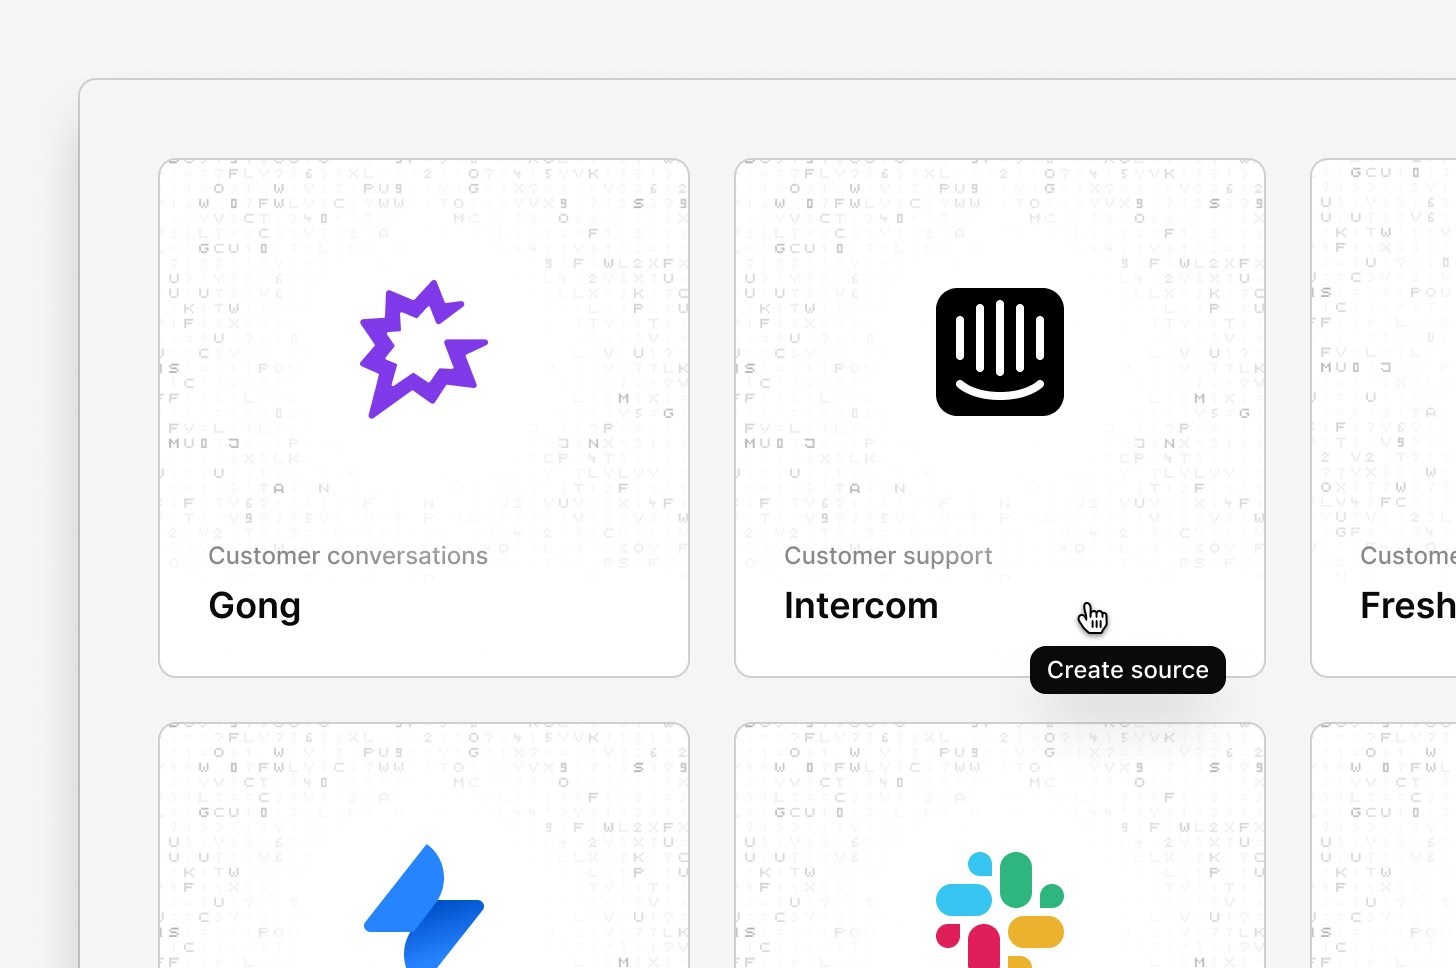
Before you start
- Check the integration’s docs. Each integration’s documentation lists the roles and credentials you need in the tool, and what the source imports. Find it in the integrations catalog.
- Choose the account to connect with. The credentials you connect with are shared by the whole workspace. See Shared credentials.
- Decide what to import. Choose the datasets and how much history to bring in. See Choose datasets and Import period.
- Decide who can use the source. By default, all users in the workspace can add its data to their channels. See Manage source access.
- Decide whether to redact the data. You can change this later, but a change applies only to data the source imports afterward. See Redact data from sources.
- Decide whether to create contacts automatically. For integrations whose data includes customer email addresses, Dovetail can link each data point to a contact, and create the contact if it doesn’t exist yet. It’s on by default, and a later change applies only to data the source imports afterward. See Create contacts from source data.
- Check for an existing source. If your workspace already has a source for the tool, open it and add datasets instead. See Add datasets.
Create the source
1
Open Sources and select the integration
In the sidebar, select Sources. Below your workspace’s sources, select the integration you want to connect.
2
Connect the tool
Depending on the integration, you either sign in to the tool and approve access, or enter credentials such as an API key, access token, or key file.
3
Choose datasets and an import period
Choose the items to import, such as Gong teams or Slack channels, and an Import period, then select
Next. See Choose datasets and Import period.4
Choose who can use the source
On Manage team access, choose who can add this source’s data to their channels, then select
Next. By default, everyone in the workspace can. See Manage source access.5
Configure the data import
On Configure data import, choose whether Dovetail auto-redacts the source’s data. Each redacted data point uses 1 more credit. Setup also asks whether Dovetail creates contacts from the source’s data. Decide before you create the source, because the first import starts right away. See Redact data from sources and Create contacts from source data.
6
Create the source
Select
Create source. The source appears on the Sources page, and its first import starts right away.Shared credentials
A source connects with one set of credentials, and that connection serves the whole workspace. The source imports what that account can read in the datasets you choose. Users who add the source to a channel, and users who can see that channel, work with that data whether or not they have their own access to the tool. How the credentials are held depends on how the integration connects:
We recommend connecting with a dedicated service or integration account rather than a personal one. Give it read access to only the data you want to import, because the source can import anything that account can see in the datasets you choose.
The user who connects a source, shown as Connected by, can manage it later alongside workspace admins. If the connection stops working, for example because access was revoked in the tool, a workspace admin or that user can reconnect it. See Reconnect a source.
Users who can manage a source can also see which account it uses, switch it to their own account, or remove the account without deleting any data. See Change the connected account.
Choose datasets
A dataset is one container of data in the tool, such as a Gong team, a Slack channel, a Zendesk group, or a Qualtrics survey. When you create a source, you select which containers to bring in, and each item you choose becomes its own dataset. Learn more about datasets → Most pickers include anAll {items} option, for example All teams. It selects every item the list shows when you create the source. Items created in the tool later aren’t added.
Channels can only use the datasets a source imports. You can add more datasets to the source later. See Add datasets.
Import period
The Import period sets how much history a source imports when you create it: its initial backfill. The options areLast 7 days, Last 30 days, Last 90 days, and Last 6 months. The default is Last 30 days, and there’s no custom date range.
- The period applies to every dataset you choose while creating the source. A dataset you add later usually gets its own import period.
- You can’t change the period for datasets that already exist. See Get older data.
- The first import starts as soon as you create the source. A large import can take a while to finish: monitor the import status by opening the source card.
- Historical data uses credits in the same way as new data, so a longer period uses more credits. See Credits and usage.
- Some tools limit how much history they return, whatever period you choose. For example, Google Play provides reviews from the last seven days only.
- Channels have no date range of their own. A channel that adds a dataset gets every data point that dataset has imported. See What a channel gets from its sources.
API and Zapier sources
API and Zapier sources receive data that you send to Dovetail instead of fetching it from a tool, so they have no sign-in step and nothing to pick.- In the sidebar, select Sources, then select API or Zapier.
- Enter a Name for the source’s first dataset.
- Choose who can use the source, then select
Next. - On Configure data import, choose whether Dovetail auto-redacts the data sent to the source. See Redact data from sources.
- Select
Create source. - For an API source, copy the dataset ID that the dialog shows.
- API: Send data points to the dataset ID you copied, authenticated with a personal API key. You can find the dataset ID later in the source’s details. See Send data to an API source.
- Zapier: There’s nothing to copy. Build a Zap in Zapier and choose the source as its destination. See Zapier.
After you create a source
The new source appears at the top of the Sources page with its status. See Source statuses. After its first import, a source that imports from a tool syncs about every hour, even before a channel uses it. See How data gets from a source to a channel. Next steps:- Add the source to a channel. See Channel setup.
- Check its fields. A source’s fields come from the data it imports, so review them after the first sync, especially NPS and CSAT scores from surveys. See Source fields.
- Review who can use it. See Manage source access.
Request a source
Only workspace admins can create sources. If you need a tool your workspace hasn’t connected yet, select it on the Sources page and send a request. Every workspace admin is notified. If you need specific data from the tool, such as certain Slack channels or Zendesk groups, let your admin know. If the tool already has a source that you can’t use, request access to it instead. See Request access.Related guides
Sources
What a source is, and how its data reaches channels.
Manage a source
Check a source’s status, sync it, pause it, reconnect it, or add datasets.
Manage source access
Choose who can add a source’s data to their channels.
Channel setup
Create a channel from your sources and choose its datasets.